Process mapping is one of the simplest ways to get clarity in your business. It helps you see what’s actually happening behind the scenes, not what you think is happening. Whether you’re mapping client onboarding, content workflows, or your financial processes, the goal is always the same: clarity, consistency, and fewer headaches.
Below are the best practices I use with clients to make process mapping practical, actionable, and something you’ll actually refer back to.
Why Process Mapping Matters
Before we discuss the methods, let’s first explore why process mapping is a valuable use of your time.
It helps you:
- Improve efficiency by spotting bottlenecks early
- Deliver consistent results across clients and projects
- Collaborate more easily with team members and contractors
- Reduce wasted time, energy, and duplicated effort
Process mapping isn’t busywork. It’s a strategic tool that helps you run your business with more intention and less chaos.
1. Define Clear Objectives
Start with the why. What problem are you solving, or what outcome are you chasing?
Clear objectives keep your map focused and stop you from documenting things that don’t matter.
Examples of strong objectives:
- Standardise your onboarding so every client gets the same high-quality experience
- Identify inefficiencies that slow down delivery
- Build scalable systems that grow with your business
- Improve client communication touchpoints
Be specific. Instead of “streamline onboarding”, try “reduce onboarding time from five days to two by automating key steps”.
2. Engage Key Stakeholders
A process map should reflect reality, not assumptions. If you have a team, involve the people who actually do the work.
Ways to gather insights:
- Interviews to uncover workarounds and frustrations
- Surveys for quick feedback on bottlenecks
- Observing how tasks unfold in real time
If you’re a solo operator, reflect on past client experiences, feedback, and data. Your clients will often tell you exactly where the friction is.
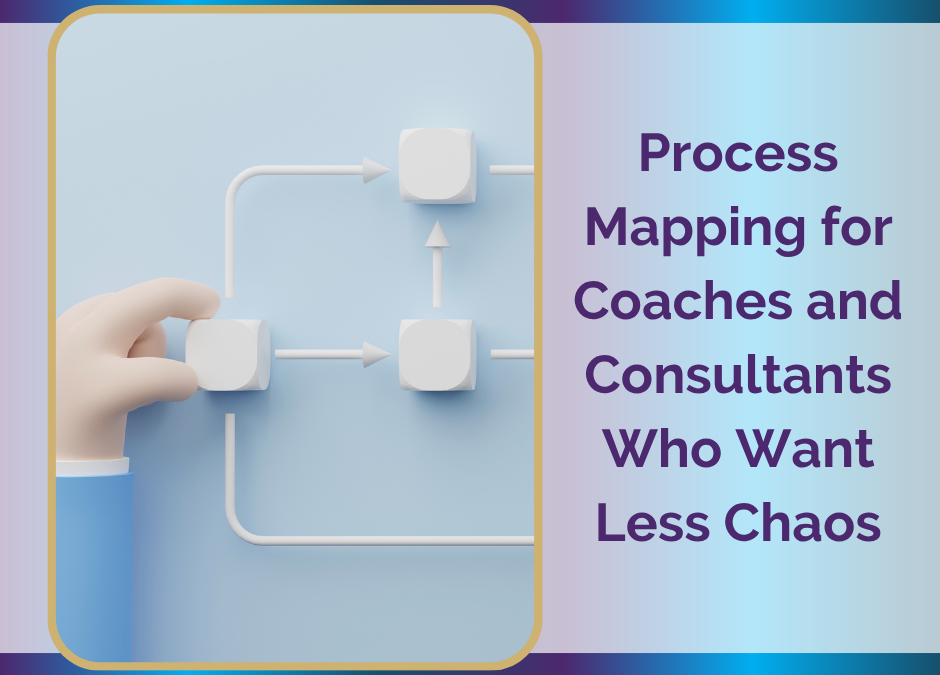
3. Maintain Consistency in Symbols and Notation
Consistency is your friend. Using the same symbols and structure across all your maps makes them easier to read and share.
You can use the Business Process Model and Notation (BPMN**) or a simple flowchart format. The key is sticking to one style.
Common symbols:
- Terminator for start and end points
- Process step for actions
- Decision point for yes/no or branching outcomes
- Loop for repeating steps
Note:
BPMN** is the clean, visual way to show what’s really happening inside a business. It shows who does what, when it happens, and how everything connects. No long explanations, no messy notes, just a clear flow of shapes and arrows.
It removes guesswork, highlights inefficiencies, makes delegation easier, and gives everyone the same shared understanding of how things work.
Think of it as the visual plan that turns “I think this is how we do things” into “this is how we do things, and here’s how we can improve it”.
4. Start with a High-Level Overview
Begin with the big picture. Don’t jump straight into the weeds.
For example, a simple onboarding flow might look like:
Enquiry → Discovery Call → Proposal → Contract → Onboarding Materials → First Session
Once the high-level structure is clear, you can layer in the details.
5. Balance Detail and Simplicity
Your process map should be detailed enough to be useful but simple enough that someone new could follow it without feeling overwhelmed.
Tips:
- Keep step descriptions short and actionable
- Group similar tasks together
- Avoid mapping every micro-action
For example, instead of listing every email in your onboarding sequence, use “Send onboarding email sequence”.
6. Identify Bottlenecks and Inefficiencies
Once your map is drafted, look for the friction points.
Common issues:
- Delays caused by manual approvals
- Repeated tasks that don’t add value
- Manual steps that could be automated
Example: If clients consistently pay invoices late, automated reminders in Xero or Stripe can save you hours of follow-up.
7. Validate and Test the Process Map
Before rolling out a new process, test it.
Ways to validate:
- Run a small trial with a few clients or projects
- Ask for feedback from team members or contractors
- Compare before-and-after data to measure improvements
Refine the map as needed before making it your new standard.
8. Keep Maps Updated
Processes evolve as your business evolves. Review your maps regularly so they stay relevant.
Best practices:
- Review quarterly or annually
- Update maps when you introduce new tools
- Document changes for transparency and training
Example: If you switch to Asana, update your maps to reflect automated task tracking instead of manual checklists.
Key Takeaways
- Set clear objectives
- Involve the right people
- Use consistent notation
- Start with the big picture
- Keep it simple and actionable
- Identify bottlenecks early
- Test before rolling out
- Keep your maps updated
Process mapping isn’t just documentation. It’s a strategic tool that helps you build a business that runs smoothly, supports your growth, and frees up time for creativity and meaningful client engagement.
Connect With Me:
If you are a coach or a consultant and need executive support help to uplevel your business administration and support, reach out and let’s start a discussion about how we may partner in business and get your schedule and background processes humming.
Book a free chat with me, here.